By Courtney Macoy
Why not ditch the toxic chemical-filled dryer sheets and static sprays, and try out one of the easiest DIY recipes you’ll ever find?
If you weren’t already aware, Static Guard receives an F rating on the ewg.org cleaning product guide. I once purchased it to use on our couch, thinking it would help to keep our dog’s hair from sticking to the fabric. Once I realized how potentially hazardous it was, there was no way I was going to let that stuff near our little lady! Or anyone else!

To make your own static spray, you only need three things:
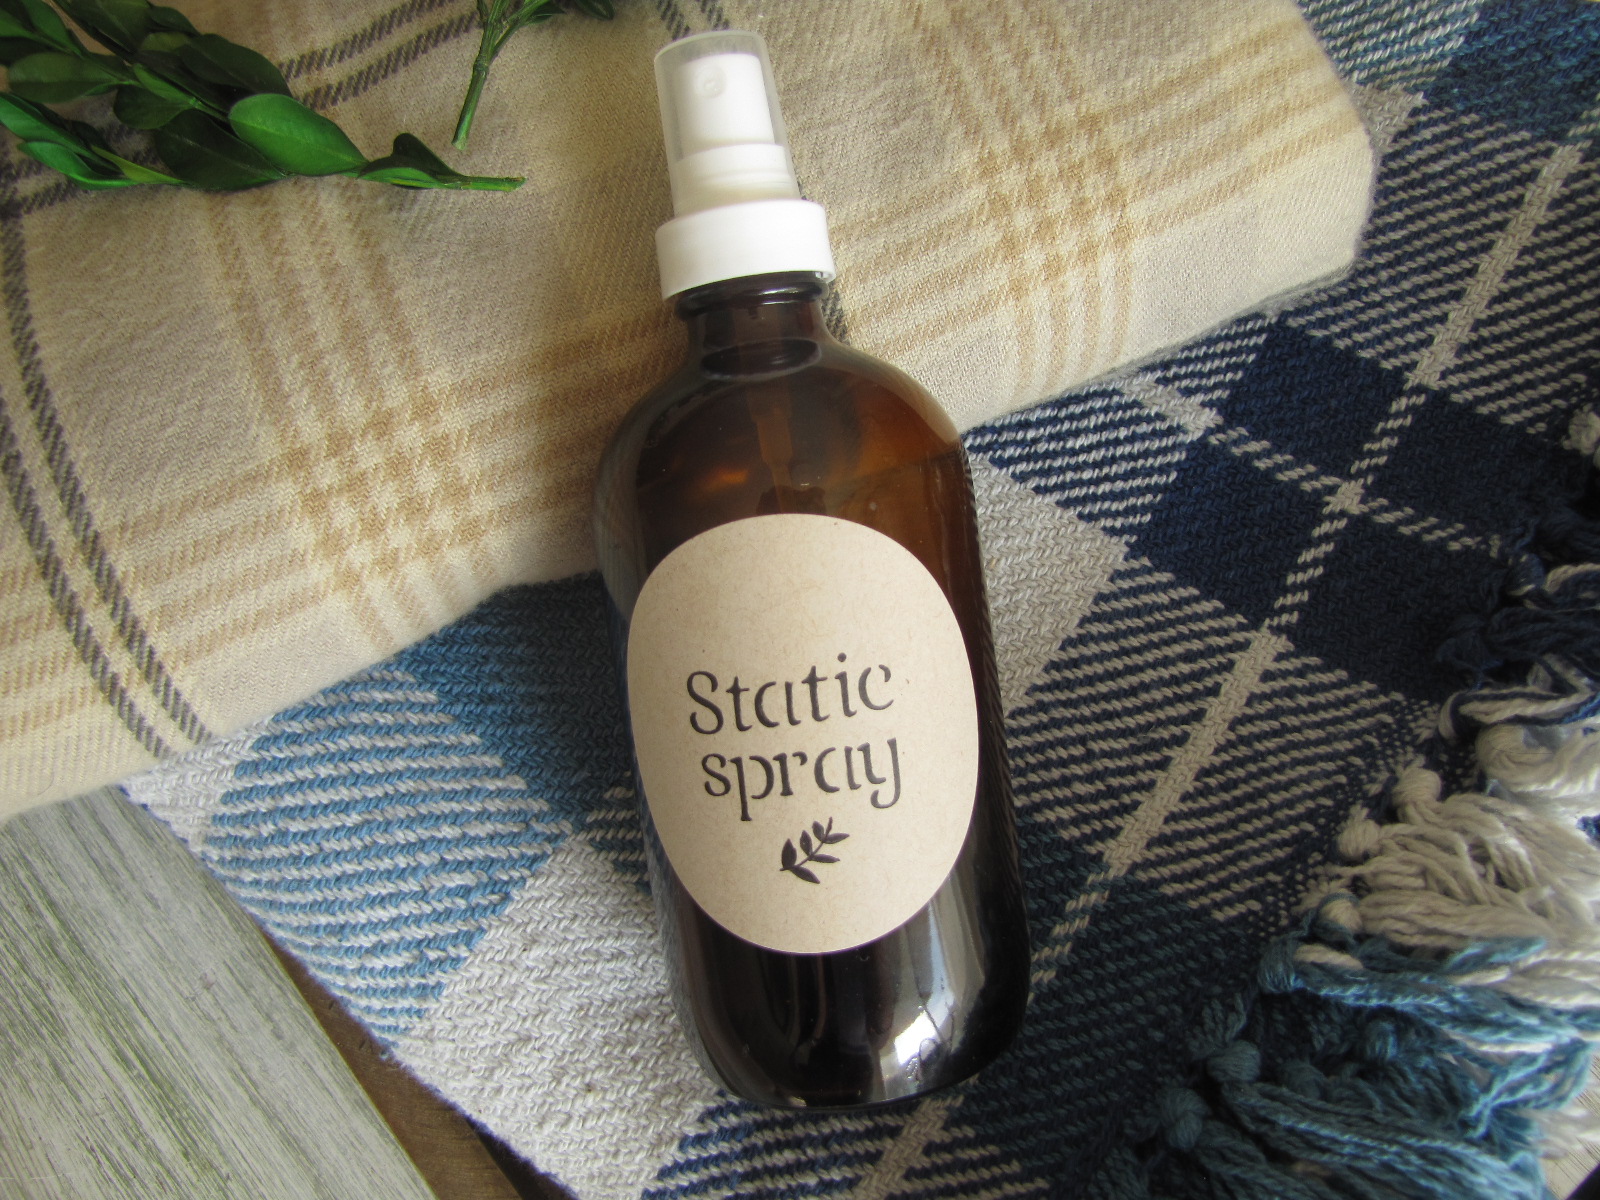
- an amber glass spray bottle (the amber glass prolongs the life of the essential oils)
- 1 cup of organic witch hazel extract
- up to 30 drops of the essential oils of your choice
Directions: Simply pour one cup of witch hazel extract in your amber glass spray bottle (or cut the recipe in half if you want to start small!), then add approximately 15-30 drops of the essential oil(s) of your choice and shake the bottle to disperse the oils. You can adjust this to your liking, depending on how strong you want the scent to be. Spray on your static-y laundry and feel that static disappear! It works like a charm. Note that the witch hazel does have a scent of it’s own- it reminds me of a “campfire” type of smell. This will impact the scent of the essential oils. If you don’t like the scent of witch hazel, then adding essential oils will create a more enjoyable product for you! Please note, the witch hazel scent does not linger on fabrics!
The great thing about this spray is that you can use it for so many other things. If you use skin-friendly essential oils like Lavender, Frankincense, or Tea tree to name a few, you can spray it on your face as a toner. Witch hazel is so great for the skin!
Need some other ideas?
Spray it in those stinky shoes for a natural deodorizer.
Use Lavender and spray it on your pillow to kill acne-causing bacteria and to help you fall asleep.
Spray on any household fabrics that need a refresh! (most Febreze products rate a C on ewg.org, with some being as bad as F.) We don’t use any kind of artificially-scented products!
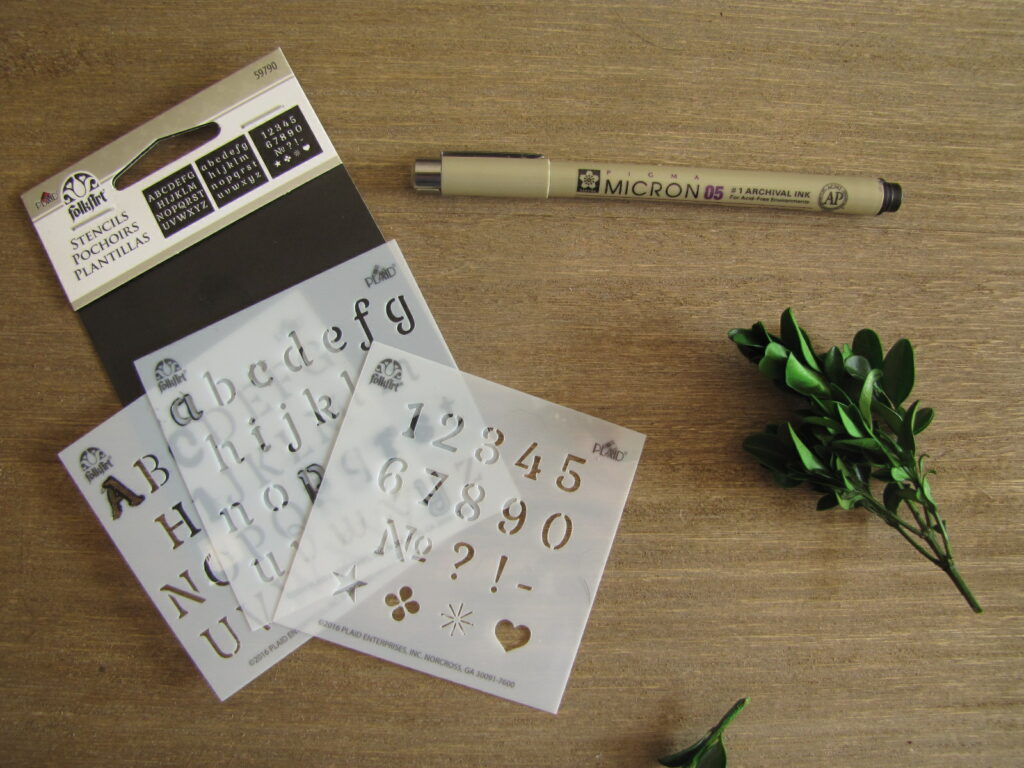
To make these super simple labels for your DIY products you will need:
- a very fine tip marker or pen (I used the Pigma Micron 05 purchased from Michael’s- I tried a few different fine tip markers and this one worked the best.)
- stencils (I used the FolkArt 59790 Alphabet set purchased from Michael’s)
- stick-on labels (I used the Avery 22808 Kraft Brown 2.5″ round, purchased from Amazon.ca) These labels are designed to use with a printer, but when I realized how complicated it was to format the printer to get them to line up properly, I decided to write on the labels by hand. There are definitely more inexpensive options for labels out there if you don’t want the option of being able to use a printer to make the labels!

Directions:
1) Test out your stencils and fine tip marker on a scrap piece of paper. You will need to make sure that the pen/marker you’re using doesn’t allow the ink to bleed under the stencil in order to get nice crisp lines.
2) On a scrap piece of paper, write out your words. Then cut out each word separately. You can then use these scrap pieces to find the correct position on your actual labels and ensure they are nicely centered.
3) Using your cut-out words from the scrap paper, find your starting position and write your words on the label. If you’re concerned about the label getting wet, place a piece of clear packing tape over the label. I usually just make sure to turn the nozzle so it’s facing the opposite direction of the label- that way, any kind of water droplets won’t get onto the label.
Done!


Leave a Reply