By Courtney Macoy
Shea butter is a perfect moisturizer for multipurpose creams because it gets a rating of 0/5 on the comedogenic scale, meaning it won’t clog your pores, which makes it one of my top choices for use on the face! A lot of recipes out there will use coconut oil, which gets a comedogenic rating of 4/5. I didn’t want to take that risk on my acne-prone skin! Coconut oil also takes fooorever to soak into your skin, which just isn’t practical. If you’ve experienced this with coconut oil, then you will be pleasantly surprised at how quickly the shea butter absorbs comparatively! Raw, unrefined shea butter can be quite hard and solid, making it difficult to apply all on its own. Whipping it with a carrier oil makes it much easier to apply, and provides a lighter, smoother texture.
Because this cream is perfect both as a face cream and a body butter, I recommend making a batch then dividing it up into different containers for different purposes. I like to have a small jar for my face cream, then a larger jar for my hand/body butter. You can even put some in another small container and throw in your purse for a travel hand cream.
As a face cream, this has really been helping to even my skin tone, and has finally fixed the dry skin around my nose from all the constant nose-blowing in this cold winter weather. As well, it has completely healed the dry, flaky, itchy eczema rash on my hands.

Why make your own body butter?
On average, an adult applies 9 different personal care products daily, with 126 unique chemical ingredients. Some of these chemicals are known carcinogens, and some are known developmental and reproductive toxins. That is really just the tip of the iceberg when it comes to the array of chemicals we are exposed to every day. (source: https://www.ewg.org/skindeep/2004/06/15/exposures-add-up-survey-results/#.WnFcvedG3IU)
It’s become a true passion of mine to help people heal and protect their bodies through healthier choices. I want to spread the word! I know it can be overwhelming, and our lives are busy, so I want to help you do this through simple steps and recipes like these. To learn more about our story and why this is important to us, click here.

Why these ingredients?
All of these ingredients have such amazing benefits for the skin. Here is just a quick summary…
Shea butter– extremely moisturizing, high in vitamins E & A, won’t clog your pores, is anti-inflammatory, boosts your skin’s collagen production making it very anti-aging, can reduce the appearance of scars and stretch marks, and has even shown to contain anti-tumor promoting compounds
Sunflower oil– high in antioxidants, helps skin to retain moisture, is anti-inflammatory, protects the skin’s collagen and elastin, and has a comedogenic rating of 0/5
Jojoba oil– antibacterial, accelerates healing of wounds and acne, contains anti-aging properties, has a comedogenic rating of 2/5 which is considered low risk of clogging pores
Carrot root extract– stimulates cell regeneration, high in vitamins E & A, powerful antioxidant
Tea Tree essential oil– anti-microbial and anti-bacterial, treats acne, and soothes skin inflammation such as eczema
Peppermint essential oil– relaxes muscles and relieves muscle pain, soothes skin inflammation
Frankincense essential oil– reduces scars, wrinkles, and stretch marks, relieves inflammation, boosts your immune system, has shown in studies to fight many types of cancer
Juniper Berry essential oil– anti-bacterial and anti-fungal, soothes skin inflammation, fights blemishes
Some things to note before we get to the recipe:
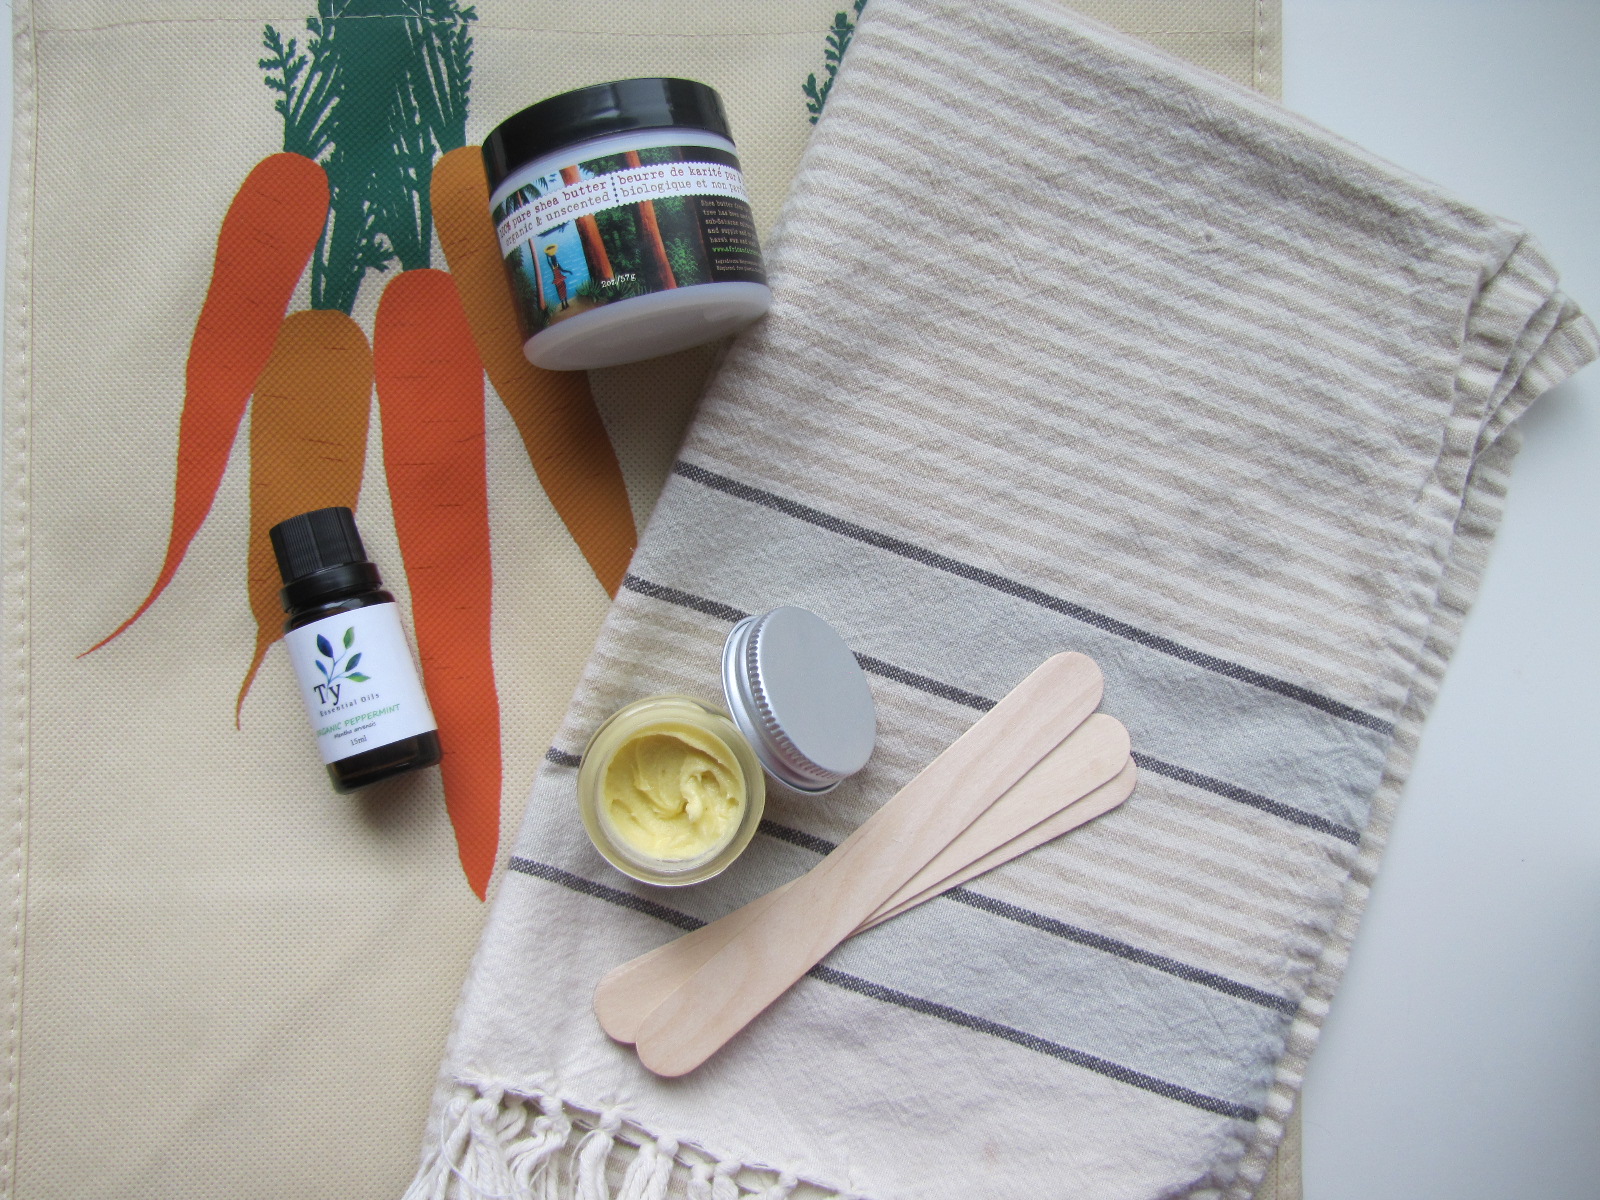
- I purchased my shea butter and carrot root infusion from Planet Organic, but you can buy them online if you don’t know where to find them locally. I’m using carrot root extract blended with sunflower oil and jojoba oil by the company Pure Potent WOW.
- If you’ve never used a pure oil/butter on your skin before, this may feel a bit greasy at first. A little goes a long way, so start with a small amount (try a pea-size amount on your face) and then add more if needed. Give it a few minutes to fully absorb into your skin.
- Remember that everyone’s body chemistry is different, and not every product will work the same for every person. Please do a skin-test on a small patch of skin to ensure you are not allergic to any of the ingredients. You can experiment with using different oils if desired!
- This recipe does not contain any preservatives, so be sure to always use clean hands or utensils when scooping some out of the jar, to lessen the possibility of it becoming contaminated. It will have a shelf life of approximately 3-6 months, so only make what you can use up in this time.
- Some people do not like the scent of shea butter, or would prefer the scents of the essential oils to stand out. If this is you, you can buy refined shea butter instead of raw, unrefined shea butter. Just keep in mind that some of the nutrients and beneficial properties are removed when it is refined.
Ingredients:
- 8 tbsp (4 oz) of raw, unrefined shea butter
- 0.8 tbsp of carrot root extract blend 0.8 tbsp of the carrot root blend is approximately a 10% addition to the shea butter, which is the dilution specification recommended on the bottle. This is a pre-mixed blend that was one of the least expensive organic oils I found.
- (optional) Additional 2 tbsp (1 oz) of another carrier oil, which will give the butter a thinner consistency. Other carrier oils include: evening primrose oil, hempseed oil, argan oil, jojoba oil, etc.
- 10- 20 drops of essential oils of your choice (I used Tea Tree, Peppermint, Frankincense, and Juniper Berry. Other great essential oils for skin care include Lavender, Geranium, Lemongrass, Sandalwood, Ylang Ylang, Myrrh, and Roman Chamomile.) Use a total of 10 drops for a 1% dilution which is the ratio generally considered safe for children, pregnant women*, and particularly sensitive skin. 20 drops will give you a 2% dilution. It’s not recommended to exceed a 2.5% dilution.
*not all essential oils are safe during pregnancy
Directions:
- To help sanitize your jars, add one drop of Tea Tree essential oil to each of your glass storage jars and mixing bowl. Wipe it around with a clean cloth to kill any lingering bacteria.
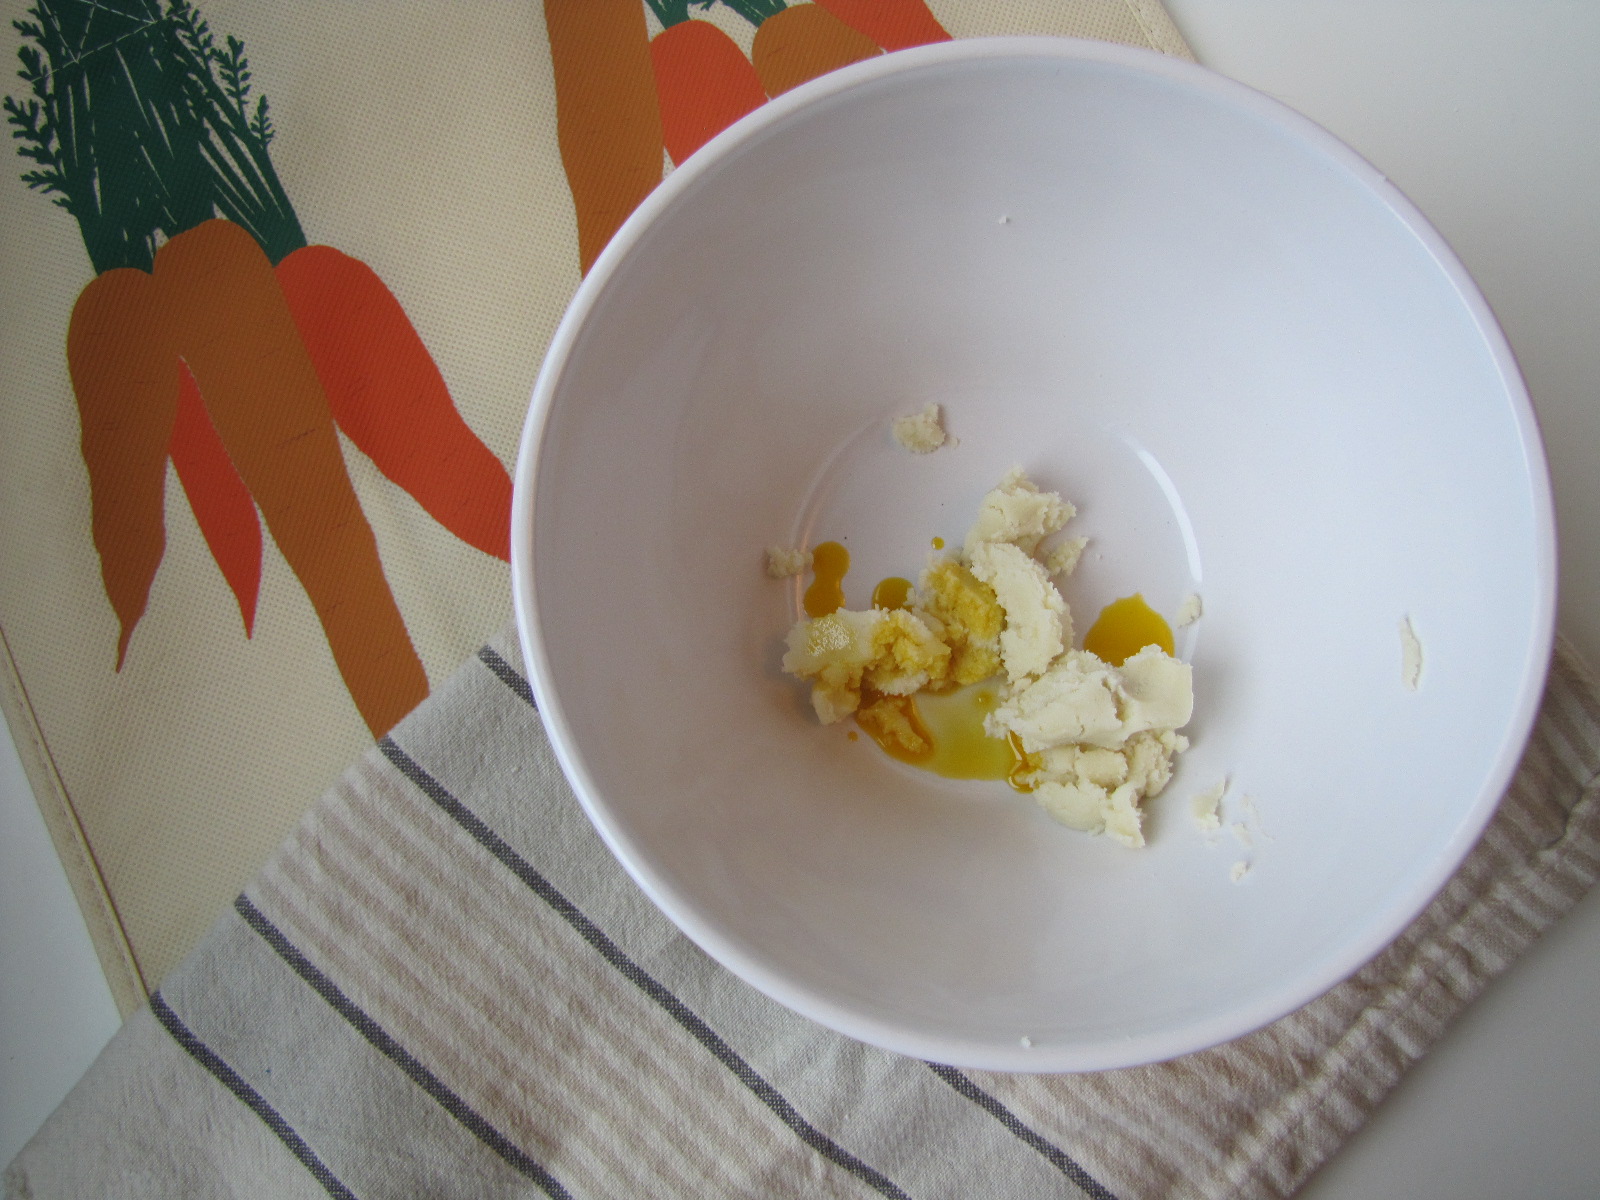
- Measure or weigh your shea butter and carrier oil and add to the mixing bowl. Use a double-broiler method to gently melt/soften the butter. If your shea butter is soft enough, you may be able to mix them together by hand. Note: If you melt the shea butter, it can sometimes cause the texture to become a bit grainy.
- If you melted your butter to a liquid-state, refrigerate it for about 20 minutes- 1 hour until it has started to solidify, but before it has become solid. Then, add your essential oils and whip with an electric mixer until combined. Whipping is optional. You can simply mix all ingredients by hand if you wish (only if shea butter is soft enough). However, whipping can usually provide a smoother and more luxurious texture.
- Transfer to your jars, and you’re done!
You will need two 4 oz jars as the volume will increase when you whip the ingredients.
Store your jars in a dark cool place, and use an amber glass jar if you have one, to help preserve the essential oils.

Additional tips and tricks:
- I apply less of this when wearing under makeup than I would at night before bed. Allow it a few minutes to fully soak in before applying makeup.
- If you are trying to evenly spread a small amount of the cream on your face and finding it difficult, making your face a bit damp will help to evenly spread it around!
I hope you love this!


Leave a Reply